What is Jmeter ?
JMeter is pure java open source software which was developed by Stefano Mazzocchi of the Apache Software Foundation. It is used to test the Performance of web applications .
Performance Testing of Web Application means – we test if a single user hits the website then what will be the performance and if multiple user hit the same website then what will be performance.
Mainly in performance testing we check the load a website can take.
Load means how many users can the website bear if multiple user hits the website at the same time.
Why JMeter ?
Open Source License: Jmeter is totally free, it allows the developer to use the source code freely for development.
Friendly GUI: Jmeter is very easy to use. It does not take time to get familiar with.
Platform Independent: Jmeter is Java Swing Based Application. So It can run on any platform and will have the same user Interface.
Easy installation:
Just download Jmeter from: http://jmeter.apache.org/download_jmeter.cgi
Recent Version of Jmeter is apache-jmeter-3.1. After Downloading Jmeter you have to go in bin folder and click on jmeter.sh in case of linux. After Clicking on jmeter.sh you will find four buttons and you have to click on run button to open the jmeter Interface.
How Does JMeter Work ?
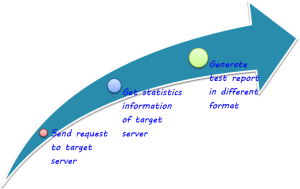
1. Basic WorkFlow of Jmeter is shown in the figure below
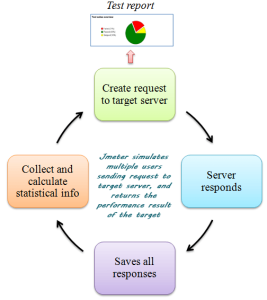
2. The Complete WorkFLow of Jmeter is shown in the Below
Before Installation-:
Before installing you must ensure that you have installed java6 or above.
You can check the version of java using the following command-
java -version
When you Start the Jmeter you will See the following Interface
Test Plan Contains all the necessary elements. You can change the name of Test Plan as it suits.
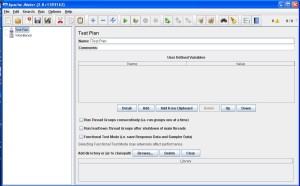
User Defined Varaible:
you can set the user defined variable to be used in the test plan.
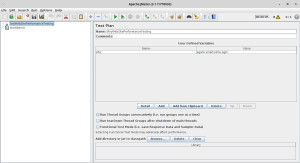
For example:
Name: site is given in name and it Can be given any thing.
Value: agami.smartcdms.agm is the server name in this case.
Now You have to right click on AnyWebSitePerformanceTesting and add The Thread Group.
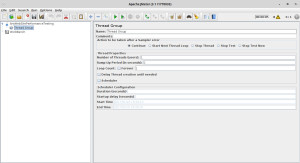
Thread Group: For Any WebSite testing you have to add Thread Group. Thread Group defines the total number users: means how many users will hit the website at the same time. For Load testing we can increase the number of threads(users).
We can also change the name of Thread Group: Thread Group name is SmartCDMSPerformance Testing in this example.You can give any ThreadGroup name relevant to your test plan. Here I have Given Thread Group’s name as SmartCDMSPerformanceTesting because the name of the web application being tested is SmartCDMS.
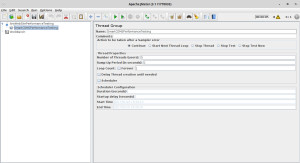
Number of Thread(users)-In the above figure I have given 5 thread(users) that means 5 user will hit the site at the same time.
Now you have to Right Click on Thread Group (SmartCDMSPerformanceTesting) and add Sampler elements. Sampler elements have many Request Elements necessary to test the web application.
Commonly used elements in Sampler is HttpRequest. HttpRequest is used to test the the web application for requesting the the webSite.
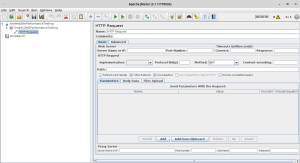
HttpRequest: We can give any name of HttpRequest. But we should give a relevant name. Here the test case is for testing HomePage.
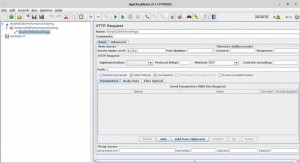
In the Below figure I have given HttpRequest’s name SmartCDMSHomePage, Server name is ${site}.
${site} – site is a variable which was defined for holding server name.
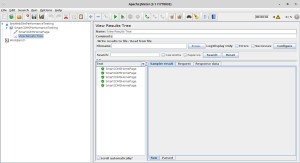
Now you can Right Click On Thread Group(SmartCDMSPerformanceTesting) to add listener elements to see the Result.
References:
http://jmeter.apache.org/usermanual/