
What is MinIO?
MinIO is an object storage server designed for large scale data infrastructure.
MinIO is a High Performance Object Storage released under GNU Affero General Public License v3.0. It is API compatible with Amazon S3 cloud storage service. It can handle unstructured data such as photos, videos, log files, backups, and container images with the maximum supported object size of 5TBIt has the following key features. (Ref: https://min.io/)
Open Sources – Available for all. Open for modification
High Performance – processes large amount of data in seconds
Distributed – one can deploy data as a cluster i.e multiple copies and backups of data at different data centers
Confidentiality- MinIO uses encryption and data hashing algorithm
As MinIO is open source so we can configure it based on our requirement. MinIO is suitable to store large and unstructured data like images, audio, videos, pdfs and file logs etc. And the size of the files can be kbs to 5 TB. Because of its cool features it is the fastest growing object storage.
Advantages
There are many more advantages of MinIO some of them are as follows
- Compatible with Amazon s3
- Provides data security using encryption and hashing techniques
- Having large active group of people serving their customers all over the world
- Manages large unstructured data very well
Disadvantages
Connection drop:
Sometimes connection drops from the application to the MinIO server.
Weak Documentation:
MinIO documentation could be more explainable
Working with MinIO
Let’s start working with MinIO Server. I am using Linux Mint as an OS. To install Standalone MinIO server in your system please follow these steps
Open Terminal
Updating MinIO – It is important to update your system before using MinIO server. And we can simply update it using following commands.
sudo apt update
Installing MinIO server
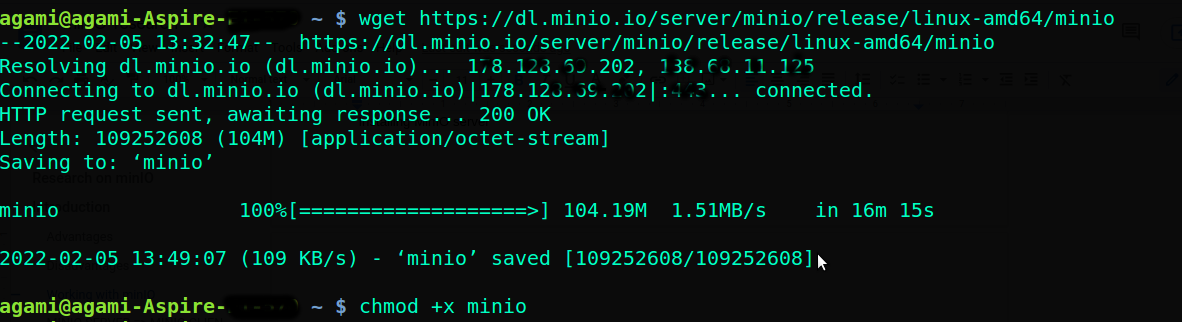
So now we will download packages for MinIO server using following command
wget https://dl.minio.io/server/minio/release/linux-amd64/minio
This command will download all the required packages in your home directory of your system. This process will take some time to complete so have patience.
Allow to execute
Now we need to give permission so that downloaded files could be executed. Use following command to give permission
chmod +x minio
Starting MinIO
Now everything is being set up and we can start MinIO server using following command
sudo ./minio server /minio
From the terminal we will get url and default generated login credentials for MinIO Console
Access Key : minioadmin
Secrete Key: minioadmin

Opening MinIO Console
Open browser enter http://127.0.0.1:9000 . we will see the window below

Now enter the access key and secret key and press login. Following window will open
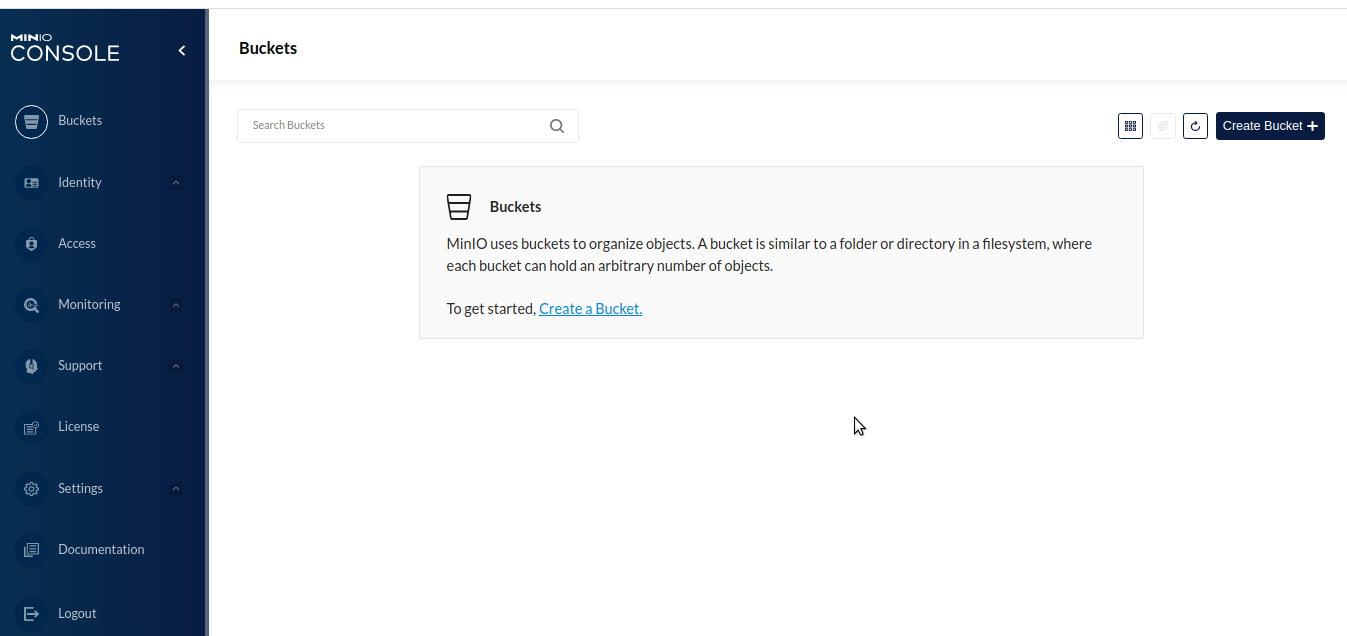
Finally we have set up a minio server where we can create buckets and upload objects. Here we can perform all the basic operations like upload, download and remove etc
Or we can install Minio client to operate MinIO Server from terminal.
Demo program for MinIO server using NodeJs
Now we have set up a MinIO server in our system and next thing is how to use MinIO server in our application. Here is a demo program which demonstrates all the basic operations. So we will create this program step by step.
Go to project location and open terminal and run following command
npm init
And it will initialize our project and give us package.json having information of dependencies. Now we need to install minio. To do so run command
npm install –save minio
Now create a file index.js and initialize minio object
var Minio = require('minio')
var minioClient = new Minio.Client({
       endPoint:’127.0.0.1’,
       port: 9000,
       useSSL:false,
       accessKey: 'minioadmin',
       secretKey: 'minioadmin'
});
Creating bucket – Bucket is nothing but a root directory to store objects at MinIO server. We can manually create a bucket from MinIO dashboard or With the help of following methos
minioClient.makeBucket(‘testing’, 'us-east-1', function(err) {
if (err)
          return console.log(err);
          console.log('Bucket created successfully in "us-east-1".')
});
If you want to check if bucket exists or not, can use this function
minioClient.bucketExists('testing1', async (err, exist) => {
      if (exist) {
          // proceed to upload object
      } else {
          //making bucket if not exists and saving file object
          minioClient.makeBucket('testing1', 'us-east-1',   function (err) {
                if (err) return console.log(err)
                        console.log('Bucket created successfully in "testing1".')
                        // proceed to upload the object
               });
     }
});
To upload objects on MinIO we will use fPutObject() function
It is having like buket name, remote path i.e. the location of file at MinIO server, local path of the file and a call back function
 var metaData = {
        'Content-Type': 'application/octet-stream',
        'X-Amz-Meta-Testing': 1234,
        'example': 5678
    }
minioClient.fPutObject(“BUCKET_NAME”, "/home/" + 'test1.jpg', file, metaData, function (err, etag) {
        if (err) return console.log(err)
        console.log(‘Image Object uploaded successfully.', etag)
 });
To remove object from MinIO server use removeObject() method as follows
minioClient.removeObject('tesing1', 'test1.jpeg' , function(err) {
    if (err) {
      return console.log('Unable to remove object', err)
    }
    console.log('Image Object removed successfully')
})
We can get objects from MinIO server in two ways.Using fputObject() method or we can directly download the object using url. But sometimes we do not want to download the object directly. The requirement could be to show the content. So for such requirement what we can do is as under:
For image we can pass url in img tag and for document or video we can use iframe tag
<img src=”http://127.0.0.1:9000/testing/test.jpg” height=”100%” width=”100%”>
<iframe src=”http://127.0.0.1:9000/testing/demo01.pdf” title=”minio demo program”></iframe>
Some useful methods are as follows:
Bucket Operations
makeBucket
listBuckets
bucketExists
removeBucket
File Object Operations
fGetObject
fPutObject
Object Operations
getObject
putObject
copyObject
statObject
removeObject
removeObjects
Conclusion
This is a quick guide to start working with MinIO server. Here we have learnt how to set up a MinIO server on a local machine. And saw a demo program to perform some basic operation objects.I hope this blog will help you to start working with MinIO server. Thank you!